Tuto Lyter
Your first Lyter post, step by step!
We'll help you get started with Lyter for the first time! Publishing on LinkedIn has never been easier.

A member of our team shows you in 20 minutes How can Lyter help you save 7 hours per month.



We'll help you get started with Lyter for the first time! Publishing on LinkedIn has never been easier.
- Last updated :
20/09/2026
Like any good app worth its salt, the first step, and it's an important one, is creating your account (luckily, you only have to do it once!).
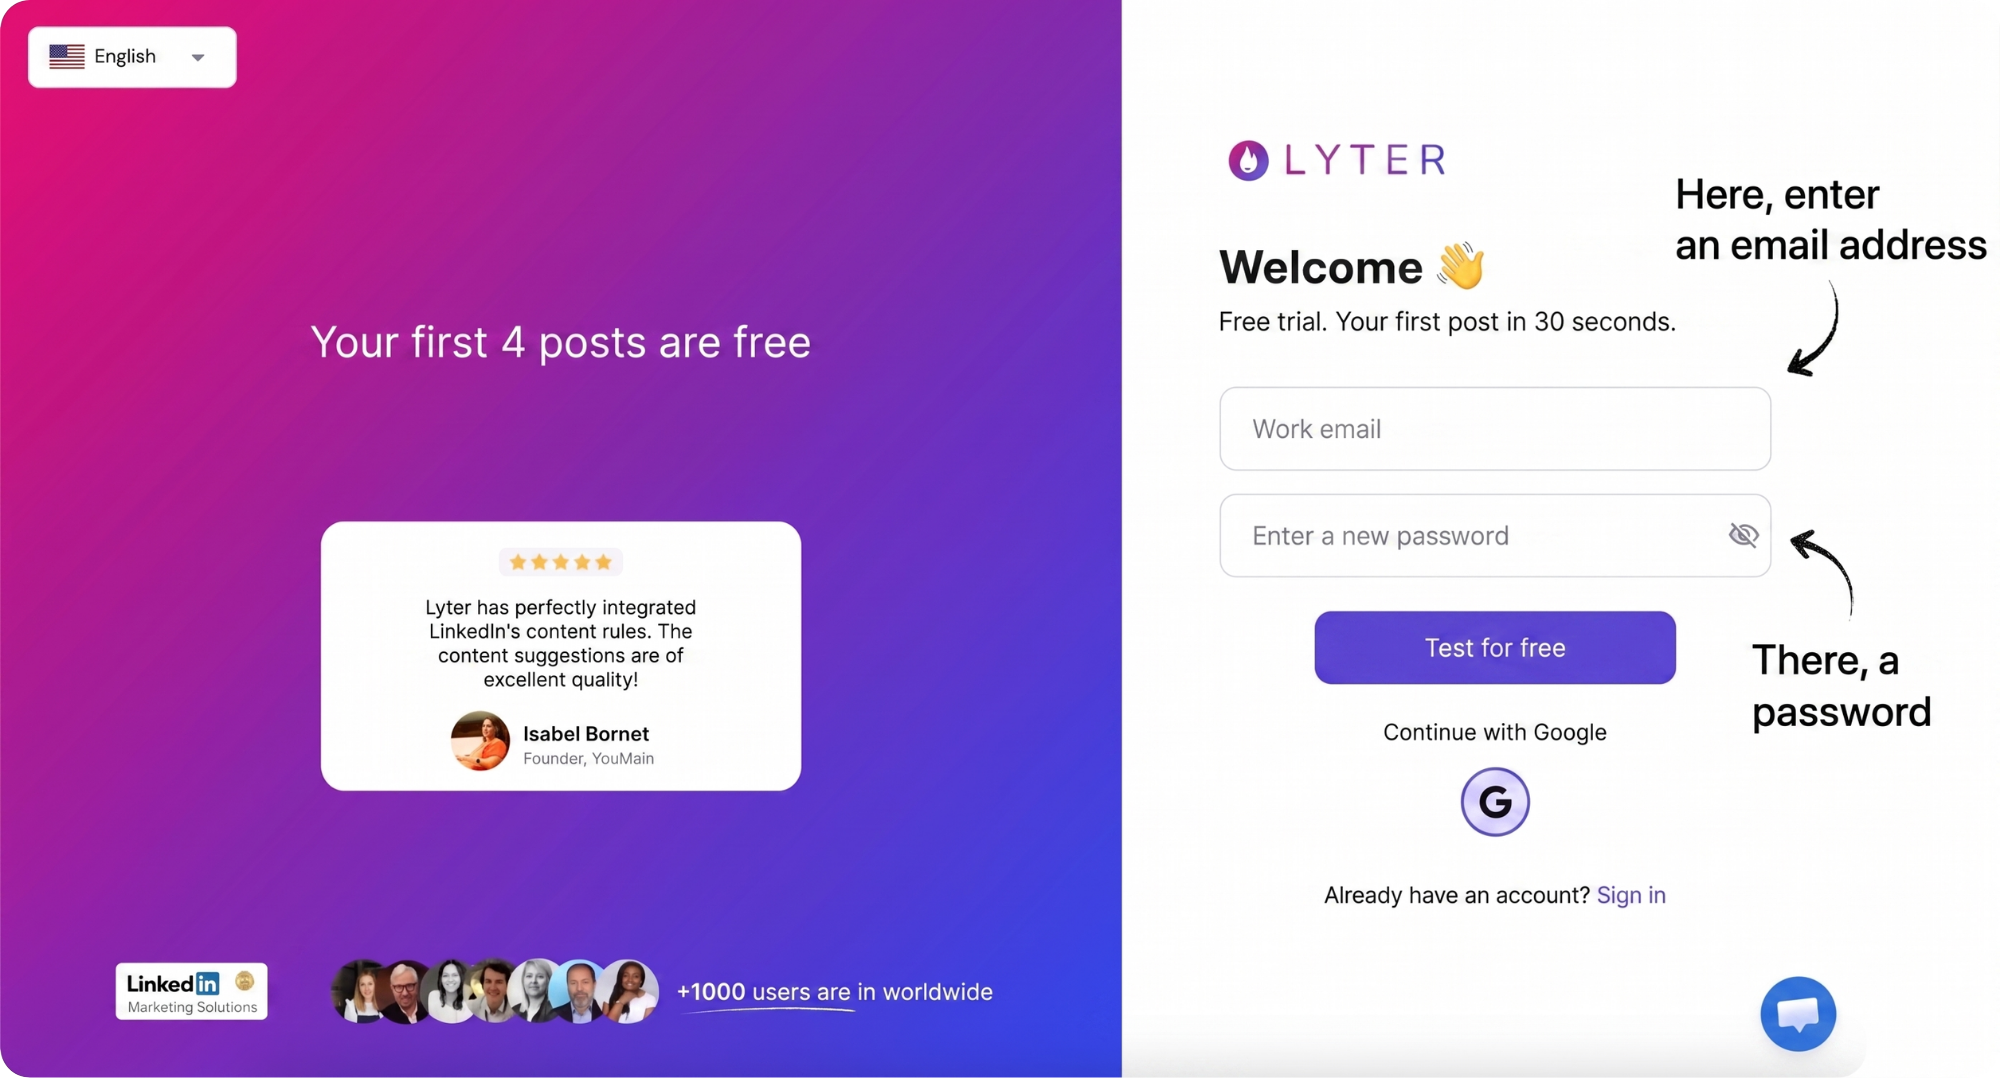
To get started, head over to the app: https://app.lyter.ai/ and create your account using an email address and a password. 👀
Connect with LinkedIn to help Lyter understand your professional background and your communication history to date. Lyter retrieves your writing style in 15 seconds, understands your activity, and is a certified official LinkedIn partner.
.png)
You also have the option to skip the LinkedIn connection, but keep in mind that it will limit your experience with Lyter:
❌ No ability to schedule posts (you'll have to copy/paste them to publish directly on LinkedIn).
❌ No automatic setup. You'll need to configure your account manually and be as precise as possible.
❌ No writing style detection. You'll need to describe your writing style to the tool in detail.
On the next page, Lyter automatically pre-fills your information using LinkedIn. Check your first name, last name, company name, and website URL. This step helps Lyter understand who you are and how your business works by scanning your site directly.
.png)
❌ If you don't have a website yet, check the box "I don't have a website yet" and describe your business in as much detail as possible in the field that appears. A great tip: paste in a text you've already written about your company. The information Lyter uses as its foundation needs to be high quality.
You can also indicate whether you want to communicate for your personal branding, for your company, or for both.
Then take a moment to think about your communication goals. The post topics will be very different depending on whether you want to "establish yourself as an expert" or "attract talent"!
You can select as many goals as you'd like from the 6 options Lyter offers, though we recommend picking just 3 to keep your positioning clear and focused.
.png)
The cherry on top: you can come back and update your preferences at any time by clicking on "My Preferences" in the left-hand menu.
From this tab, you can update your company information ("Info & Content" tab) and adjust all your communication preferences ("Communication Preferences" tab): your goals, posting frequency (monthly, weekly, daily…), scheduling settings, post style, and more.
.png)
Once you've completed the "setup" phase, it's time to get to the writing! Go ahead and click the "Create my posts for the month ahead" button to kick things off.
.png)
Lyter suggests post ideas for the upcoming month. Concretely, it looks at the best-performing posts on LinkedIn in your industry. Based on that, and your communication goals, it puts together personalized post ideas for you.
From those suggestions, select as many ideas as you want posts to write.
If you want to write 3 posts this month, choose 3 ideas.
But you can also start with just one post and come back later for the rest, everyone has their own way of organizing things!
You also have several ways to add to your list:
1. Got a personal idea that Lyter didn't suggest? Just type it into the "Your idea in one sentence" card.
2. Want to recycle an old post or a blog article? Simply add the URL in the "Recycle a blog article" card.
3. Found an article you loved and want to share? Copy and paste its URL into the "Share an article from your field" card and Lyter takes care of the rest.
.png)
For each post, Lyter will ask you to provide a few details so it has material to work with. Dates, numbers, personal anecdotes… the more specific and detailed you are, the better!
New feature: you can now answer Lyter's question using voice command! Just click the microphone icon and dictate your context on the fly, without typing a single line. Perfect for saving even more time. 🎙️
This is also the step where you'll choose whether to publish your post on your personal profile or your company page.
Posts published on a personal profile get 3x more visibility.👀
.png)
And that's it, Lyter takes it from here. Give it a few seconds to draft your post with your tone !
Once the post is drafted, it appears in your calendar. It's automatically scheduled at a strategic time and date based on your audience. Lyter analyzes your network to determine the best moment to publish.
You can then:
.png)
And finally, the finishing touch! Lyter lets you add a visual to your post. You have three options:
1. From an existing visual : choose a media file from your computer or your visual library.
2. Create a custom visual : Lyter designs a custom infographic, diagram, poster, or mock-up using your brand identity.
3. Get a professional photo : Lyter arranges a professional photoshoot in the setting of your choice, at a low cost.
Remember to mix up your formats to keep your LinkedIn content varied and engaging! 😉
.png)
Once finalized, your post appears in your editorial calendar. You can come back and edit it at any time before it goes live. 😊
.png)
On the main page, your editorial calendar gives you a visual overview of all your posts (drafts, scheduled, and published), so you can see exactly what's coming up for the month ahead.
.png)
And to take things even further, Lyter gives you access to a full dashboard in the "Statistics" tab. There you can track your performance over time: engagement rate, impressions, comments, followers… over the last 7 days, last 30 days, or over the year.
But Lyter doesn't just show you numbers, it analyzes your results and gives you personalized tips to help you improve and fine-tune your strategy over time. 📈
.png)
What should I do if I'm not happy with the post Lyter wrote?
The first thing to do is figure out what's not working for you. If it's about the content (missing info or off-topic), simply add more details to the information provided for that post, then ask Lyter to write a new version.
If it's about the tone, you can update your preferred tone directly in your communication preferences. If it's just a few phrasing choices, you can edit them manually or ask Lyter to rewrite the post using the same information.
How does Lyter write my posts?
Lyter primarily relies on artificial intelligence combined with an in-depth analysis of your activity to draft your posts. The result: personalized posts written in the snap of a finger!
What should I do if I have a question while using Lyter?
If you have any questions, click the blue chat bubble in the bottom right corner of your screen (from within the Lyter app). An instant messaging window will open, letting you ask us your question directly!
.png)
If you still have questions or need more information, don't hesitate to reach out. We're here to help you shine!
You now have everything you need to create your first posts, organize your content calendar, and track your LinkedIn performance.
Now it’s your turn! Head over to Lyter and create your first posts.
.png)
In just 20 minutes, our team will show you how Lyter can free up 7 hours/month.